Online security is more crucial than ever. Protecting your online data is essential whether you’re browsing, streaming, or just surfing the web. A Virtual Private Network (VPN) can be a powerful tool for maintaining privacy. NordVPN, one of the leading VPN services, offers a robust solution for Mac users. In this blog, we’ll guide you through the easy steps to set up NordVPN on your Mac, ensuring your online activities remain private and secure.
Why Choose NordVPN?
NordVPN stands out in the crowded VPN market due to its superior features:
- Strong Encryption: NordVPN ensures that your online activities are protected with high-level encryption.
- Wide Server Selection: With thousands of servers worldwide, NordVPN allows you to connect from virtually anywhere.
- No-Log Policy: Your browsing stays private as NordVPN does not track or store your online activities.
- Speed and Reliability: NordVPN offers fast connection speeds, making it ideal for streaming and downloading.
Step-by-Step Guide to Set Up NordVPN on Mac
Step 1: Sign Up for NordVPN
The first step in setting up NordVPN on your Mac is to create an account. To get the best deal, use the affiliate link provided in the description of our setup video. This link often includes promotions, such as getting four extra months free with a one-year plan. Visit NordVPN’s website, select the subscription plan that suits your needs, and enter your payment details.
Step 2: Download and Install NordVPN
Once you’ve signed up, it’s time to download the NordVPN application. Here’s how:
- Visit the NordVPN Download Page: Go to NordVPN’s website and navigate to the downloads section. Select the version that matches your Mac’s operating system.
- Please install the application: After downloading the file, open it and follow the on-screen instructions to install it. You should drag the NordVPN icon to your Applications folder.
Step 3: Log in to Your Account
After installation, open the NordVPN application. You will see a login screen where you should enter the username and password you chose during the signup process. Logging in is crucial as it syncs your subscription details with the application, allowing you to access all its features.
Step 4: Connect to a VPN Server
Connecting to a VPN server with NordVPN is straightforward:
- Quick Connect: Click the ‘Quick Connect’ button for the fastest connection. NordVPN will automatically select the best server based on location and load.
- Choose a Specific Server: If you need a connection from a particular country or city, browse the server list and select your preferred location.
Step 5: Enjoy Secure and Private Browsing
Once connected, all your internet traffic is routed through NordVPN’s encrypted servers. This setup ensures your data is secure and your online identity is private. You can now browse, stream, and download with peace of mind, knowing that your activities are protected.
Additional Features
NordVPN offers several additional features to enhance your online experience:
- Presets: Customize your VPN experience based on your activities. Whether for extra security, browsing, or streaming, you can set preferences that activate automatically when you connect.
- Automatic Updates: Keep your application up-to-date with the latest security features and improvements without manual intervention.
Deep Dive into NordVPN Features for Mac Users
Once you’ve set up NordVPN on your Mac, as detailed in the previous sections, it’s beneficial to understand some of the more advanced features and tips to maximize your VPN experience. Here’s a more in-depth look at what NordVPN offers and how to get the most out of your VPN on a Mac.
Auto-Connect Feature
One of NordVPN’s handy features is the Auto-Connect option, which is perfect for users who want to ensure they are always protected without forgetting to turn on their VPN every time. This feature can be set to connect automatically at startup, so your internet connection is secured from the moment you begin using your Mac.
Here’s how to set it up:
- Open the NordVPN Application: Launch the NordVPN app on your Mac.
- Navigate to Settings: Click on the app’s ‘Preferences’ or ‘Settings’ tab.
- Enable Auto-Connect: Find the Auto-Connect section and select the option to connect to a VPN server when your Mac starts automatically. You can choose the ‘Quick Connect’ option or a specific country.
Using Specialty Servers
NordVPN offers several types of specialty servers designed for specific activities, enhancing your online experience based on your needs:
- P2P Servers: These servers are optimized for peer-to-peer sharing, providing faster speeds and better-torrenting stability.
- Obfuscated Servers: If you are in a country with heavy internet restrictions, these servers can help bypass blocks by masking your VPN traffic as regular internet traffic.
- Double VPN Servers: For those who require an extra layer of security, Double VPN servers route your traffic through two different VPN servers, encrypting your data twice.
To access these servers, go to the ‘Servers’ tab in the NordVPN application and choose the category that suits your activity.
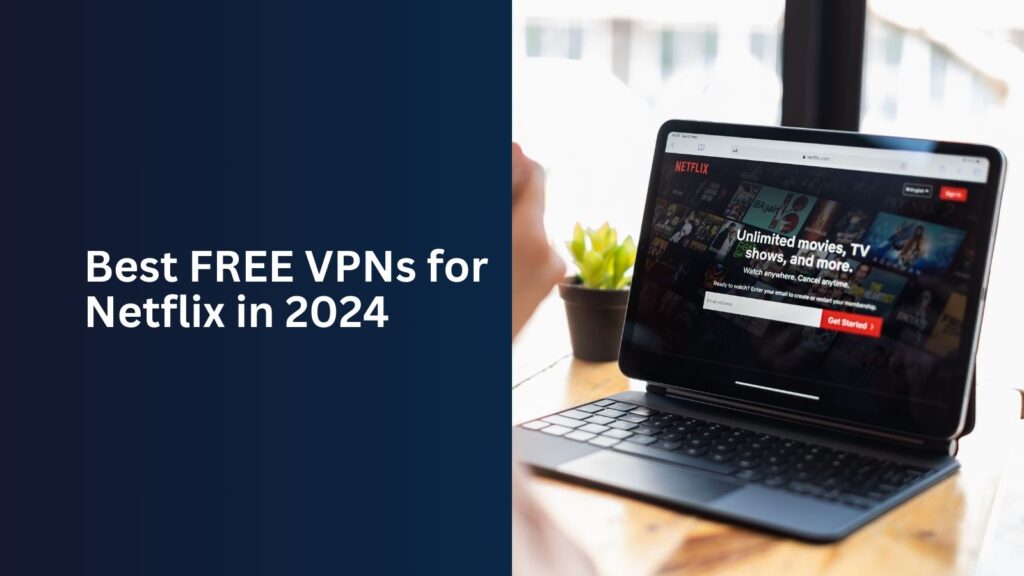
Secure Streaming with NordVPN
Many users choose NordVPN for secure and unrestricted streaming on their Mac. NordVPN effectively bypasses geo-restrictions, allowing you to access content from different regions. For instance, if you want to watch shows available only on the US version of Netflix, you can connect to a US server and enjoy streaming as if you were there.
Here’s how to optimize NordVPN for streaming:
- Choose a Server in the Country of the Streaming Service: Select a server where your desired content is available for the best speeds.
- Connect and Stream: Once connected, log into your streaming service, and you should have access to the region-specific content. NordVPN’s fast servers ensure you can stream in high definition without buffering.
Tips for Troubleshooting
Sometimes, you might encounter issues such as slow speeds or connection difficulties. Here are some troubleshooting tips:
- Change Servers: If a server is too slow or not connecting, try a different one. Servers can occasionally become overloaded, and switching can resolve these issues.
- Check Your Internet Connection: Ensure your base internet connection is active and stable without the VPN. If there are problems, the VPN cannot function correctly.
- Update the NordVPN App: Keeping your app updated ensures you have all the latest improvements and security patches.
Ensuring Your Privacy
With NordVPN on your Mac, you can handle various online threats. Here’s how to ensure you are fully protected:
- Activate CyberSec: Go to NordVPN’s settings and turn on the CyberSec feature to block ads and malicious websites, enhancing your browsing security.
- Regularly Update Your Passwords: Alongside using a VPN, maintaining strong, updated passwords for your online accounts is crucial for security.
- Stay Informed: Keep an eye on NordVPN’s updates and recommendations for new features or security advice.
By following these steps and utilizing NordVPN’s advanced features, you can significantly enhance your online privacy, security, and freedom on your Mac.
Conclusion
Setting up NordVPN on your Mac is simple and offers significant benefits for your online privacy and security. By following the steps outlined in this guide, you can ensure that your online activities are shielded from prying eyes and that you can take full advantage of the internet without compromises. Remember, investing in a VPN is investing in your online safety.